(CLICK ON THE IMAGE BELOW TO READ THE WHOLE ARTICLE)
A couple of years ago I was fortunate enough to take a four-day workshop with artist Tom Forrestall and his son William on egg tempera. It is a medium that has always fascinated me and over the span of the workshop we were able to experiment all the stages of creating a work in egg tempera, from the preparation of the gessoed panels to the creation of a finished piece.
It is quite an involved process and finally this summer I found myself with a workspace suited to preparing the gesso and decided to take the leap and experiment.
I did quite a bit of research on line for instructions and finally settled on the procedure described by egg tempera artist Koo Schadler.
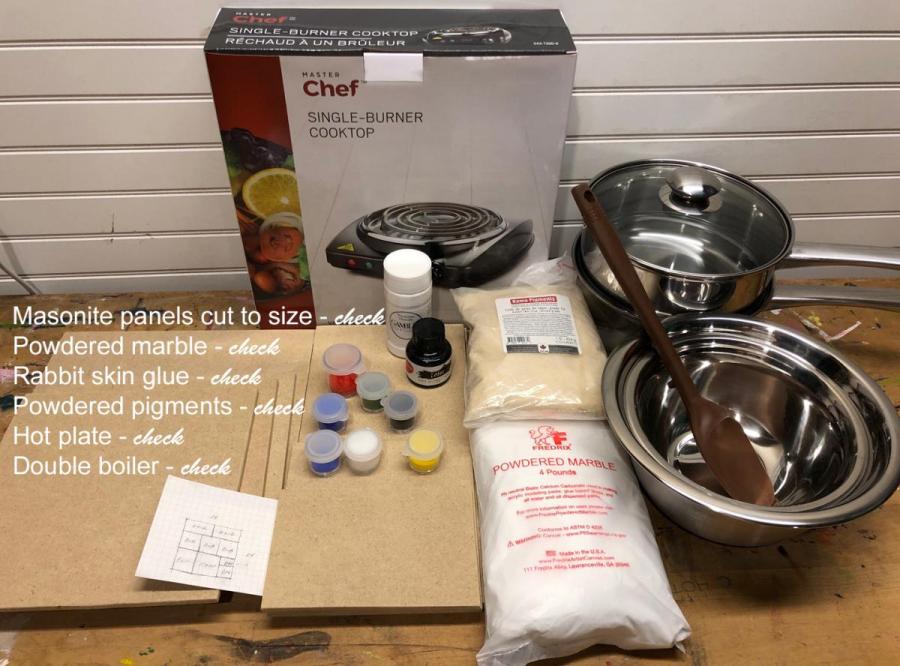
Getting things together
The first stage involved getting all the material and tools necessary. I decided to use 3/16” Masonite board as a support and was able to find a 24” x 24” piece at my local hardware store, which I cut up into 10 pieces of various sizes.
The traditional recipe for gesso, as it has been made for centuries, calls for chalk or marble dust (“gesso” is the Italian word for chalk), animal hide glue (usually rabbit skin glue) and whitening (titanium white). I ordered these materials online from Above Ground Art in Toronto.
The most difficult piece of equipment to round up turned out to be the double boiler needed to heat the rabbit skin glue and the gesso! After trying Dollorama, Canadian Tire, Home Hardware, Bed, Bath and Beyond, SuperStore, Kijiji and the Salvation Army store I finally ended up purchasing one from Amazon… Who knew…
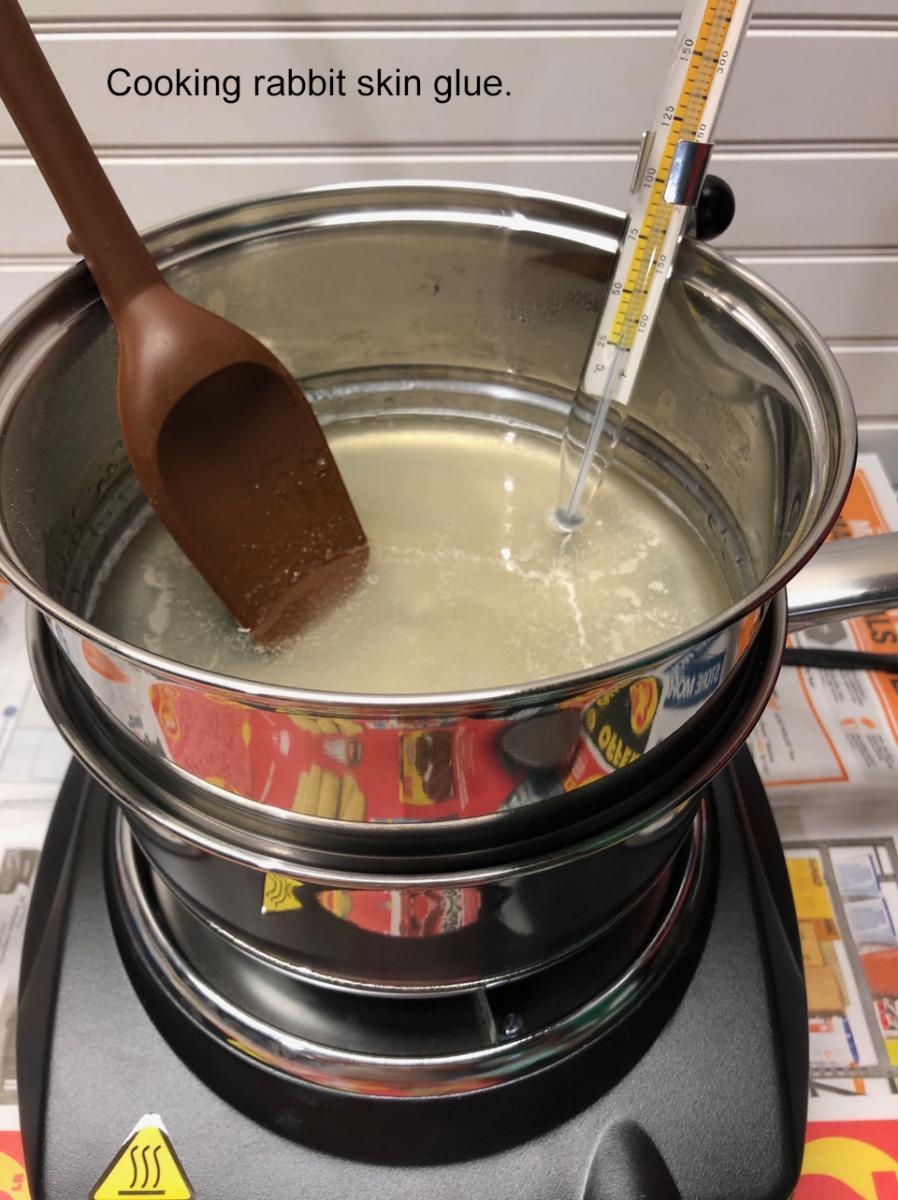
Time to get cooking…
Day 1: To prepare the rabbit skin glue, the powdered glue is mixed with a specific quantity of water and left to sit overnight. As it is an animal product it must be refrigerated to keep it from spoiling.
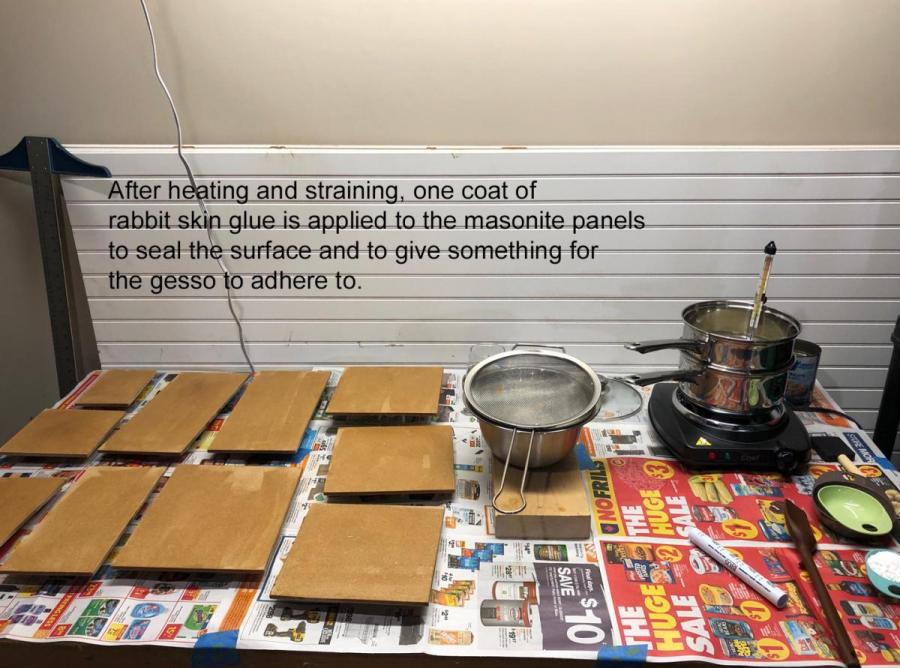
Day 2: The rabbit skin glue, now in a gelatinous form, is heated up in the double boiler. It mustn’t get too hot or it will lose its adhesive properties. After a light sanding the Masonite panels are treated with a coat of glue on both sides to seal the surface and to give a base for the gesso to adhere to.
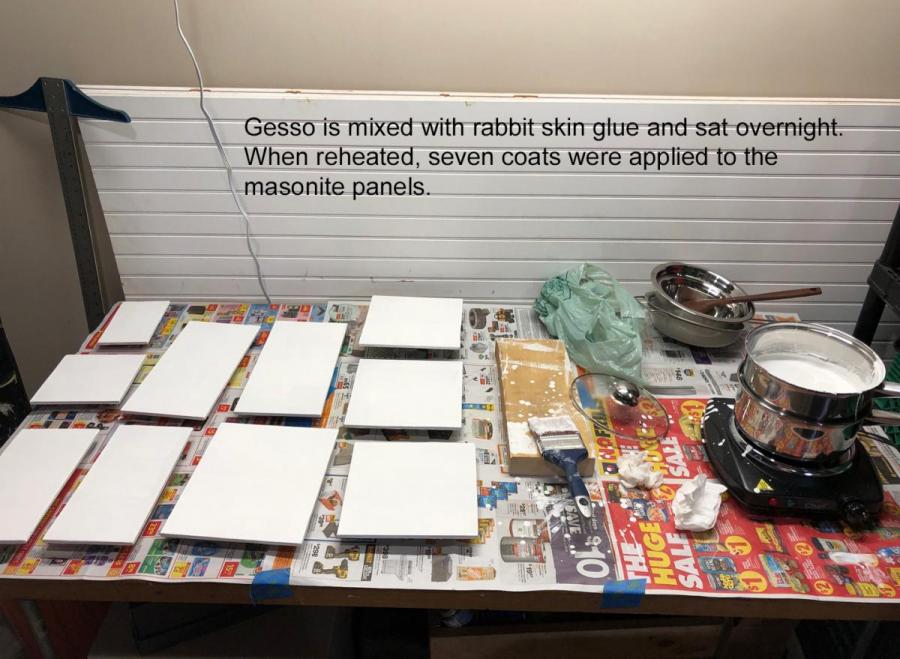
To prepare the actual gesso, measured quantities of marble dust and titanium white are sifted and carefully mixed with the warm rabbit skin glue. The preparation is left to rest, refrigerated, overnight.
Day 3: The gesso is reheated over the double boiler and several coats are applied to the Masonite panels. The gesso should not be allowed to dry between coats as the following coats will not adhere well. Coats should be reapplied as soon as the previous coat has lost it’s sheen. I was able to apply 7 coats of gesso with the quantity I had mixed which was within the range recommended.
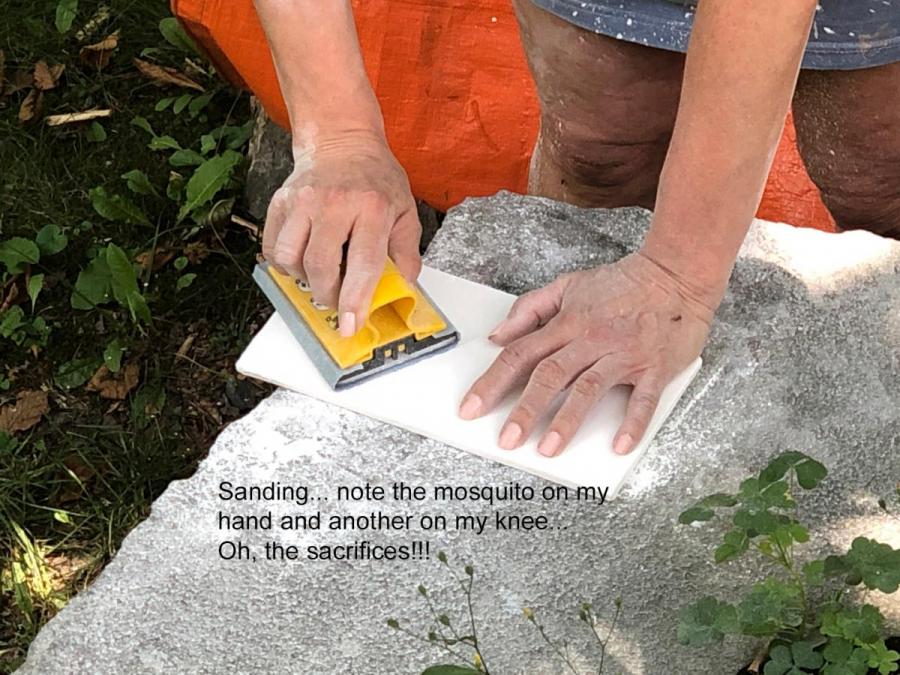
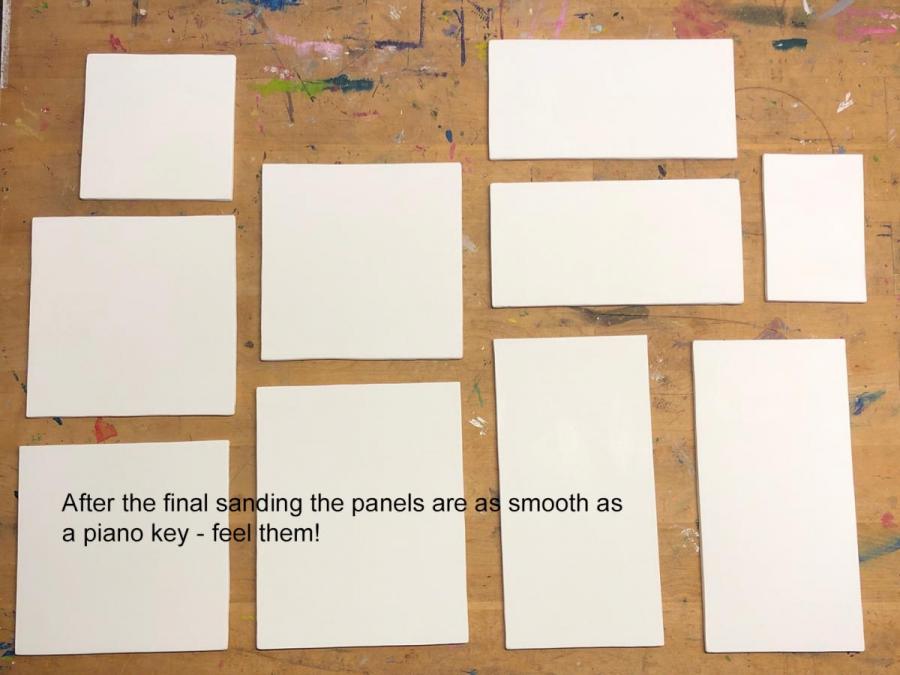
Day 4: The gesso must be completely dry before sanding. I used 5 grades of sandpaper, starting with 120 and working up to 600. Before the last sanding, I wet my fingers and rubbed them over the panels to work up a bit of slurry on the surface. After the final sanding with the 600-grade paper, the panels were truly as smooth as a piano key!
Let the painting begin!
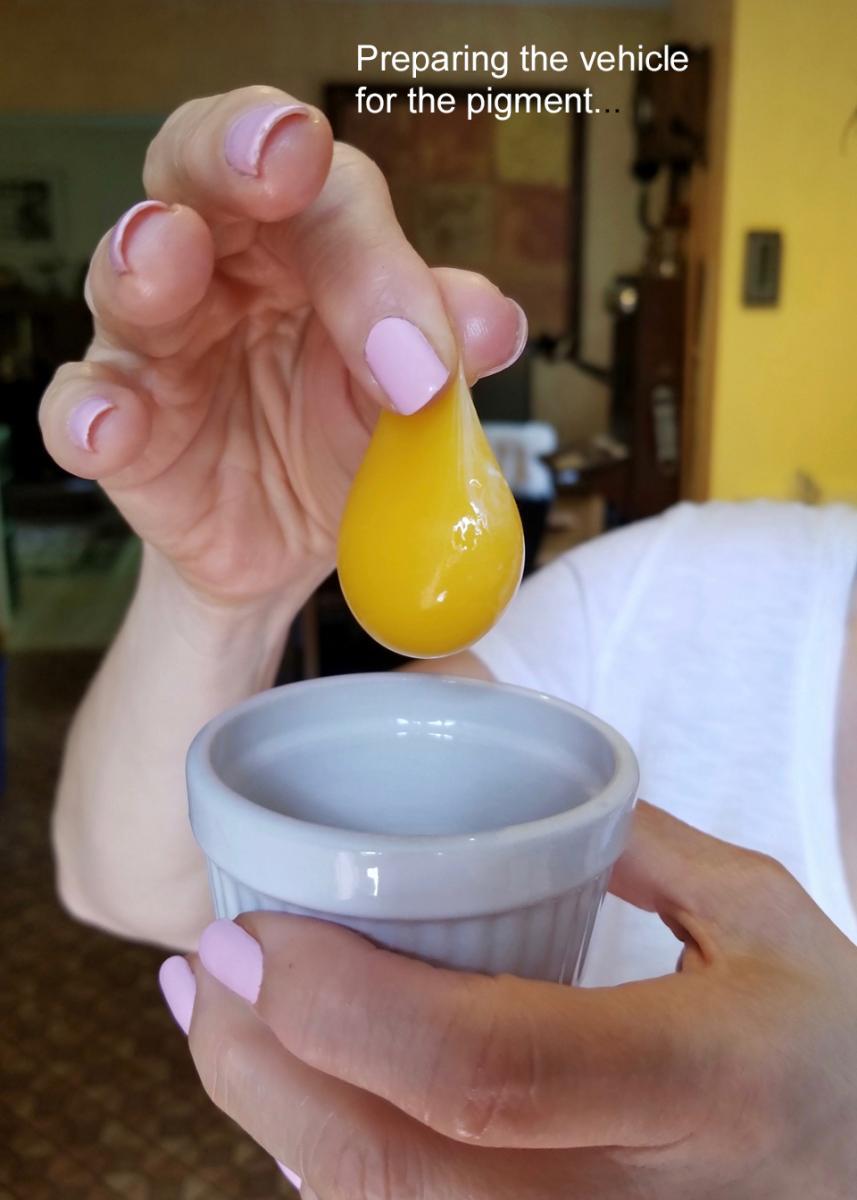
At the end of the workshop two years ago, Tom Forrestall was generous enough to send us off with a small bit of several colours of dry pigment – enough to mix some colours and do a couple of small pieces. Eggs being the other main ingredient, are easy enough to come by.
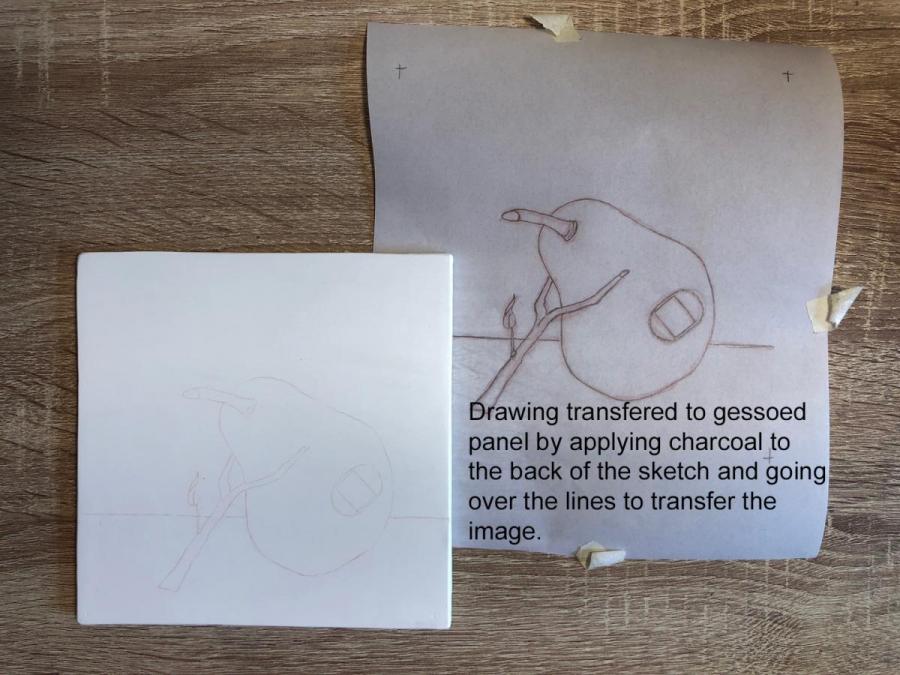
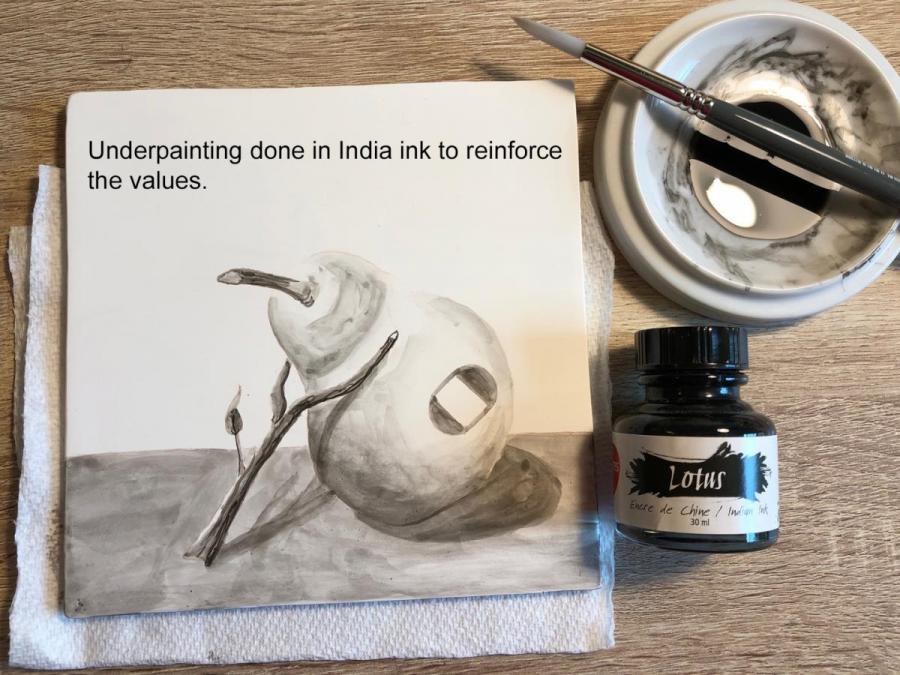
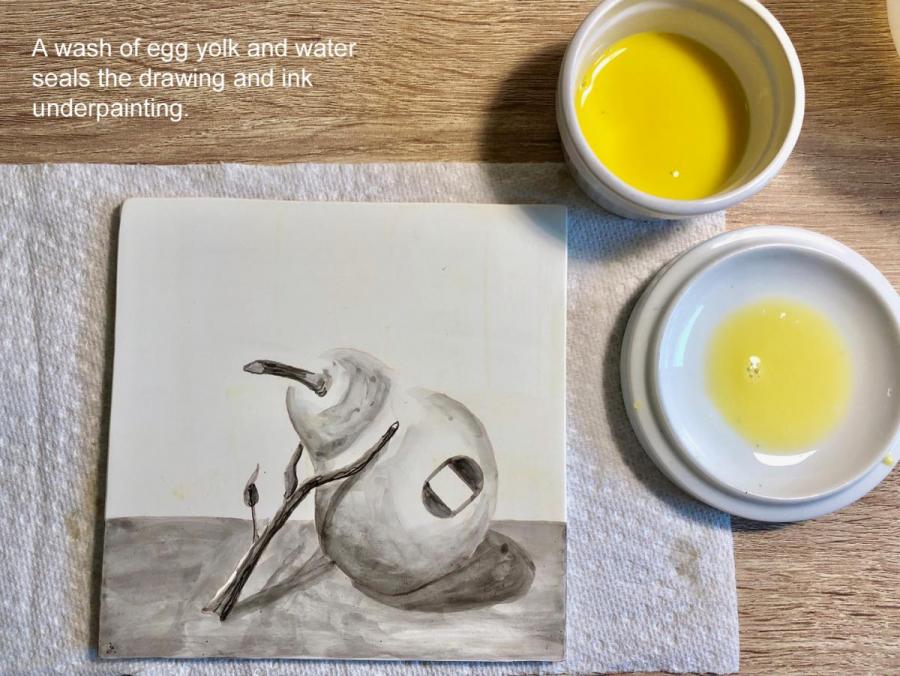
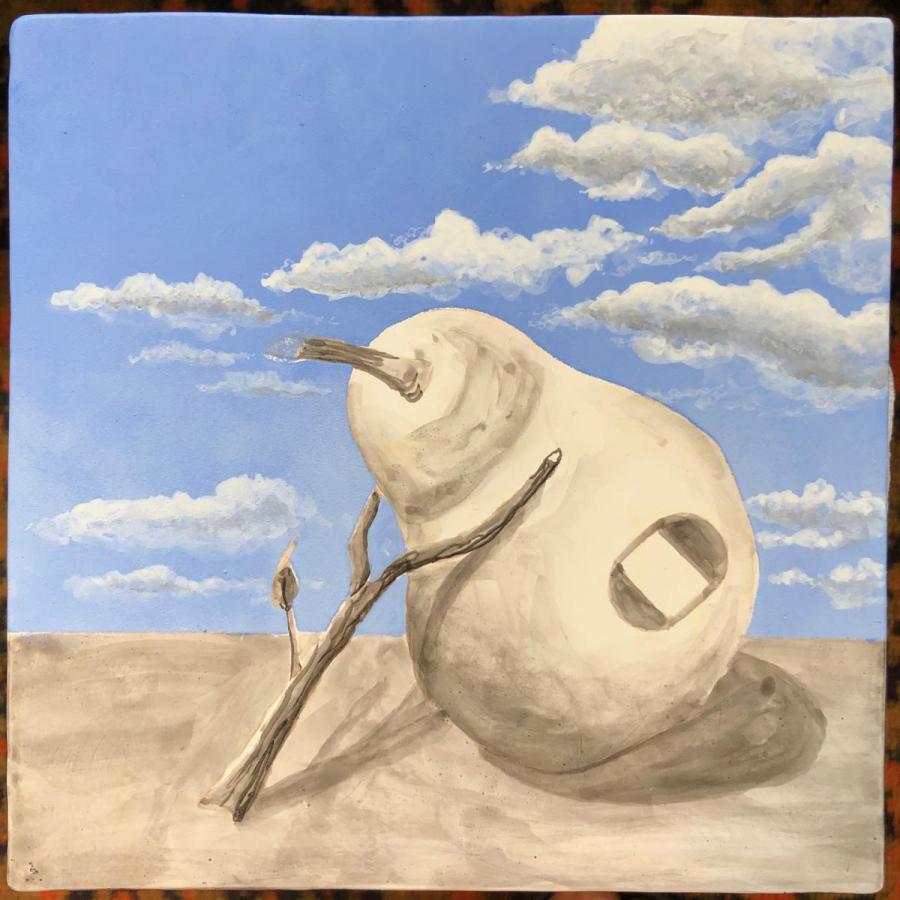
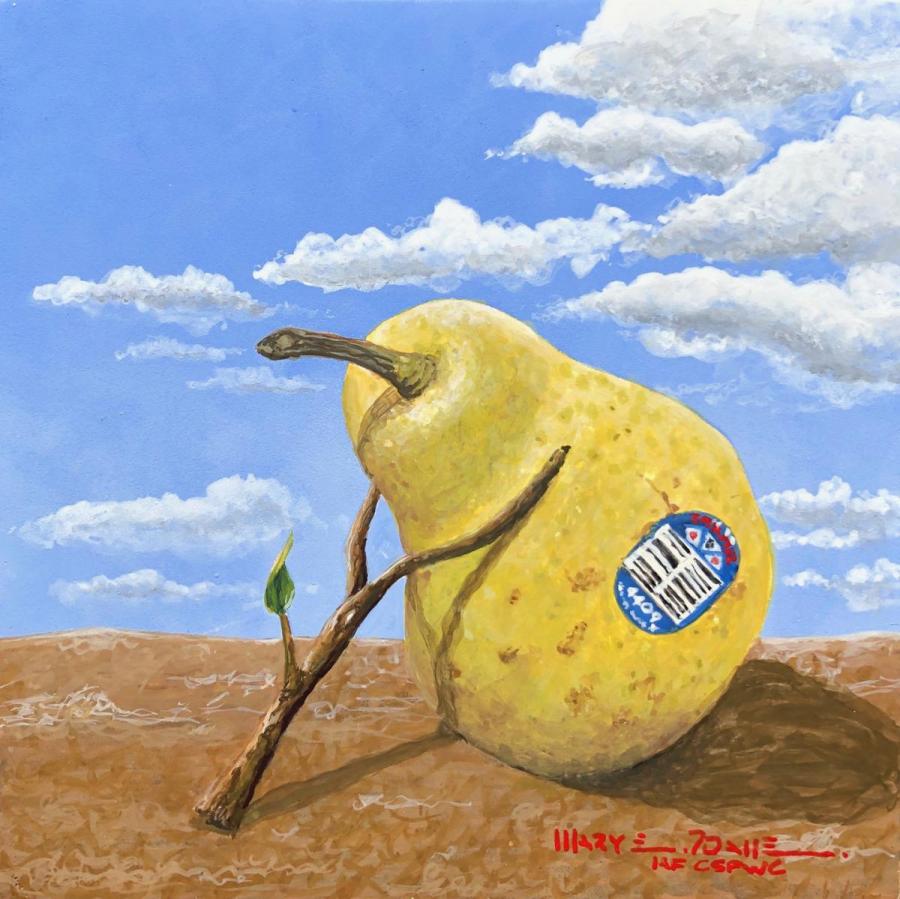
The first stage in painting, after transferring the drawing to a gessoed panel, is to create an underpainting that serves to define the values (from dark to light) and also to assist in obtaining darker tones, as the medium is relatively transparent. The drawing and underpainting are sealed with a coat of diluted egg yolk.
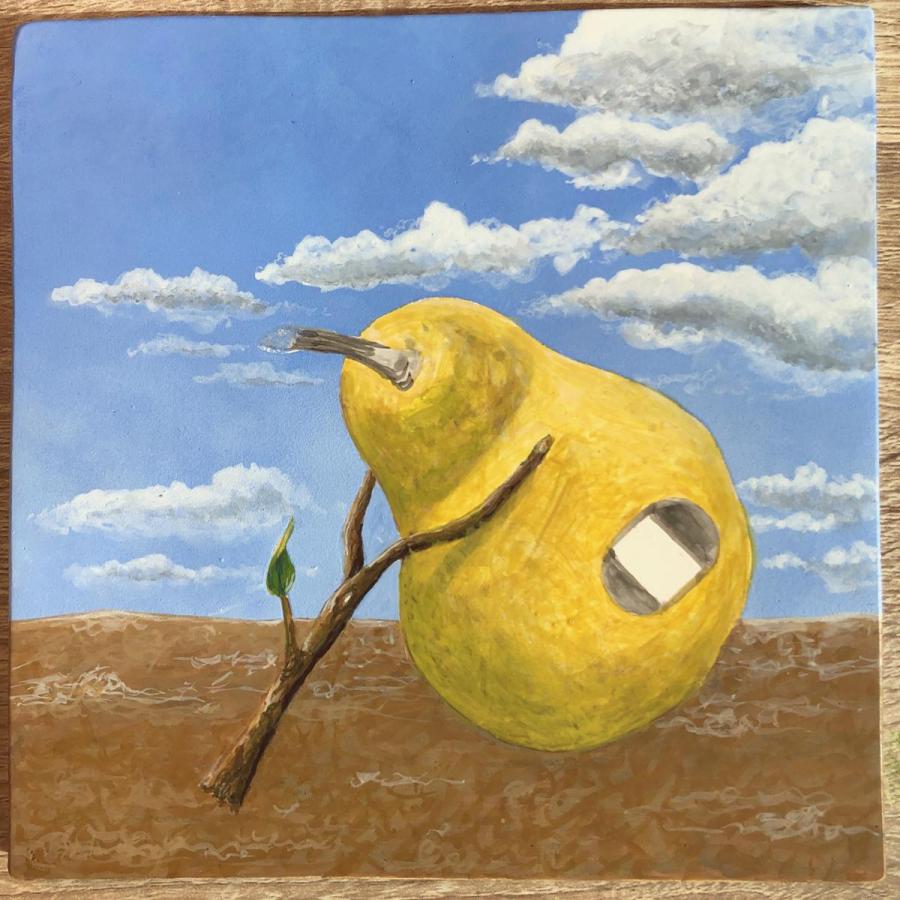
The egg yolk is separated from the white and mixed with a bit of water to dilute it. Dry pigments are then mixed with an equal amount of yolk/water mixture and then the paint is applied. Because egg tempera dries quite quickly it is difficult to do a large area of colour wash. I used a sponge to get a soft background sky, on the advice of Koo Schadler. The colour in other areas is built up with small, overlapping brush strokes.
For a first time out, I am relatively pleased with the final result. I have 9 more prepared gessoed panels and have just ordered some more dry pigment colours from Kama Pigments in Montreal, so I guess that means that I will be doing more egg tempera. There is a ritual to working in egg tempera – from preparing the gesso to mixing the colours every day to work – but it is a pleasing ritual and one that has been followed for centuries. I am looking forward to experimenting some more and have several projects in mind that will be well suited to egg tempera.
Break an egg…!